
Since I got my car I knew it was time to get a hold of my finances. I need to know where my money is going and how much of it. I knew I wanted to get a binder and put all my information in there.

Today, I'm just going to focus on the dividers. I had a really hard time figuring out what dividers I wanted. I stood in Staples going back and forth on which ones I wanted. Every one I found was something I didn't want at all or was almost what I was looking for. I wanted something crisp and clean. I looked into label makers, but I didn't want to put the money in for one right now. I searched all over Pinterest to get some ideas. Everything was time consuming or took more money than I wanted to put in. I ended up getting Avery Print-On Dividers
They are so affordable and user friendly!
When you first open your package your dividers will look like this.

1.) DO NOT REMOVE THE YELLOW. You will need to keep that on until you're done printing on your divider. Also keep the holes folded down until you are done too.
2.) Go to Avery.com/Print
3.) Select either portrait or landscape. I chose Portrait.
4.) Scroll down a little ways it will look like this.
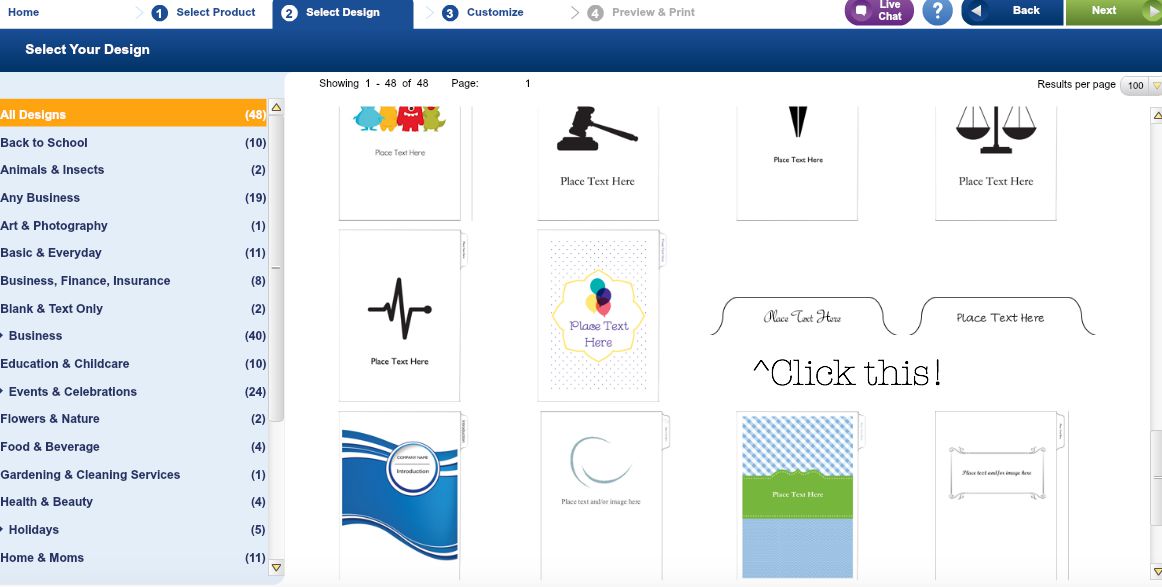
5.) After you choose the color you want, get a plain sheet of printer paper. Draw an arrow going down and a circle at the top for the tab. Click Print. (This way you will know which way to put in the dividers without messing one up)
6.) Print and take off the yellow paper and fold back the 3 holes.
7.) Enjoy!

I absolutely LOVE my tab dividers! They are everything I wanted and more! What tips do you have for making tabs?
xo,
Lettie
Lane
I have never made my own tabs but yours turned out amazing! I love how colour you chose matches the binder.
ReplyDeleteThank you so much Evelina!
Delete